The main bathroom had some horrible florescent lights above the sink. The ballast appeared bad as they didn't work so I decided to replace them with some recessed lights from Ikea. Here is the original fixture:

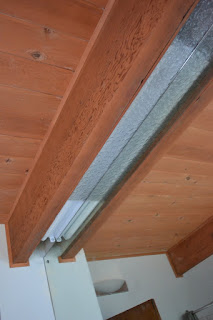 I had temporarily put a different fixture in so that I could have some light, but there was an issue with that light, causing it to flicker. So, I decided to get cracking on the recessed lights. Here is the work in progress:
 And the final result:
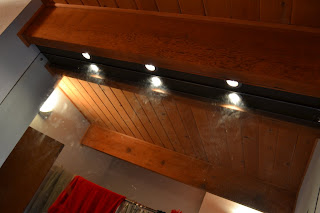
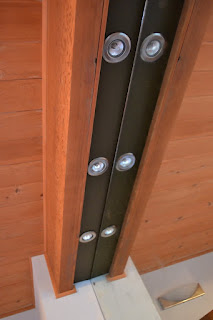 Lighting is much improved. I used a piece of wood from the basement and painted it a flat, dark olive green. The lights are wired in parallel. I had originally planed to wire them in series, but they were very dim in that configuration. The fixtures aren't quite sitting flush. The wire I used was so stiff that it's pushing them out slightly. I'll have to tinker on that later. However, overall the look is much better and the lighting is greatly improved.


Comments
Post a Comment